|
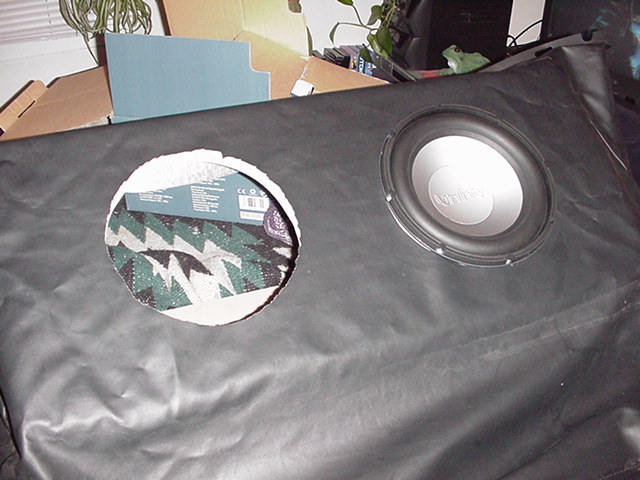
The top folds down into the rear of the cabin which is
separated from the trunk with this vinyl sheet and a molded plastic
form. The form is removed and the vinyl prepared for the subs. I did this by placing the sub box in the trunk in the pre-determined location and placing the vinyl sheet in it's normal position, then marking the holes. |
|
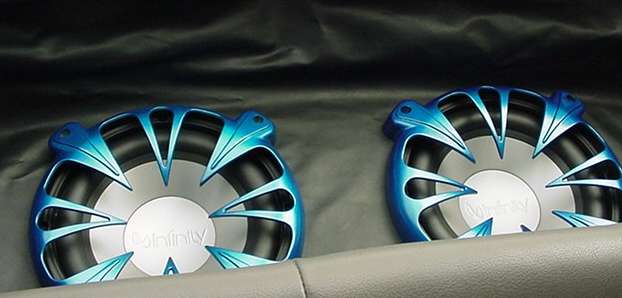
The subs as seen from inside the car. They can also
be seen looking down through the rear window, however,
most of the time the top cover is housed back here so
they are under cover from prying eyes and more
importantly, from the sun. The top clears the speaker covers by at least 2 inches so no problems there. I was concerned that large movement of the cones would cause the rear window (which is what is immediately above them when the top is down) would vibrate but it doesn't appear to.
|
|
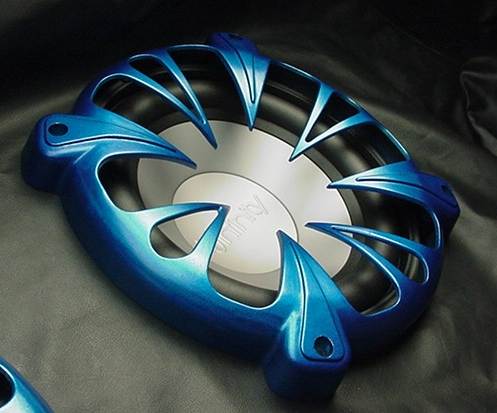
Close up of the one of the mounted sub. My intention is to glue blue LEDs under each of the major protrusions, running the power under the vinyl backing into the trunk. A switch will need to be located in the front of the car somewhere. For show only of course.
|
 |
Fully assembled and installed. The very last part was
to remove the protective plastic. A few weeks after use, I re-tightened the screws. They have not needed any more re-tightens since. The box is attached to the trunk floor using 2 steel L plates and 4 stainless steel metal screws per side. Wiring for the subs can be seen running from the Bass amp on the left. At the first entry point into the bass box, the cable is split and wraps around the front to feed the right side of the box. Signal lines can be seen coming in from the right. All up, this box probably weighs in around 60-70lbs and it just fits into the trunk - perfect.
|


