|
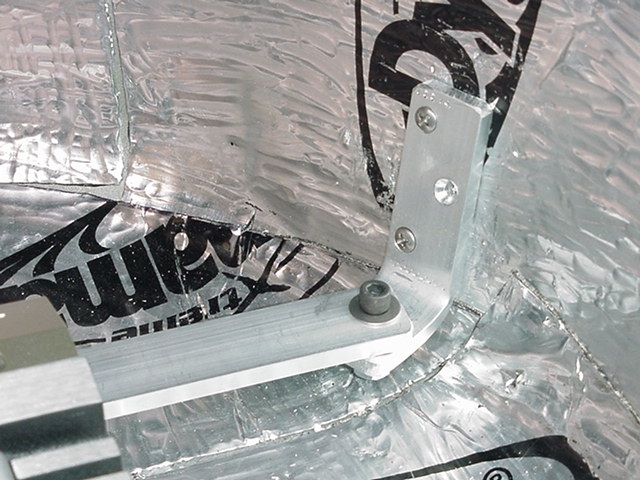
Mounting brackets were a matter of placing the amplifier
in the decided position and roughly measuring out the required bracket
and then cutting an approximate length of alloy and bending it. As each one is completed, it is attached and the amp is once again hand placed, attaching at each bracket. |
|
|
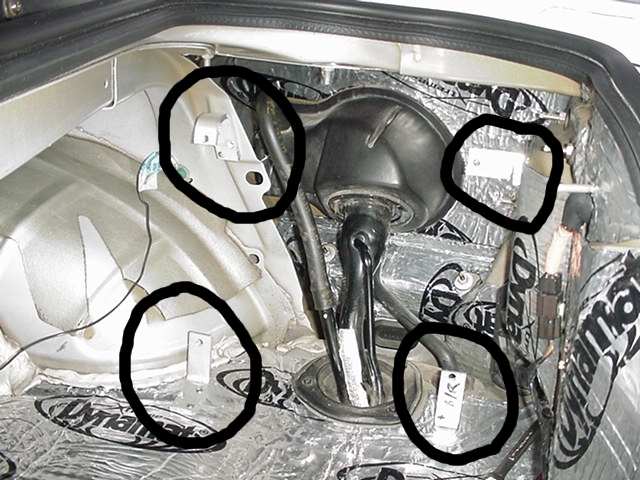
Given that the fuel tank is below the truck and wrapped
around the wheel well, it was important to ensure that any whole I
drilled would not puncture the tank - I spent ages making sure this was
the case by getting under the car and figuring out where the outside of
the well was in comparison to the tank. The main amp mounting is 4 brackets with 2 parallel rails running between them onto which the amp is mounted.. |
|
Press a section of paper bag into the depression,
molding it to shape then run the felt pen around to obtain the outline -
it's always close enough as long as the paper does not move. The speaker cables can also be seen in the bottom left making their way into the car. In places where the cables passed the edges of metal, I wrapped them in foam to protect against rubbing. |

|
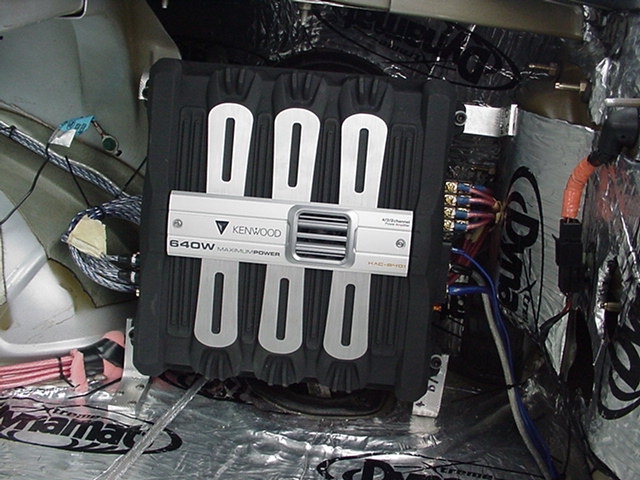
Main amp mounted. Holes were drilled slightly oversized
to allow for minor adjustments of location since none of this was
calculated in any way - just measured, guessed, refined eyeballed.
The amp is completely isolated from the chassis. |
|
|
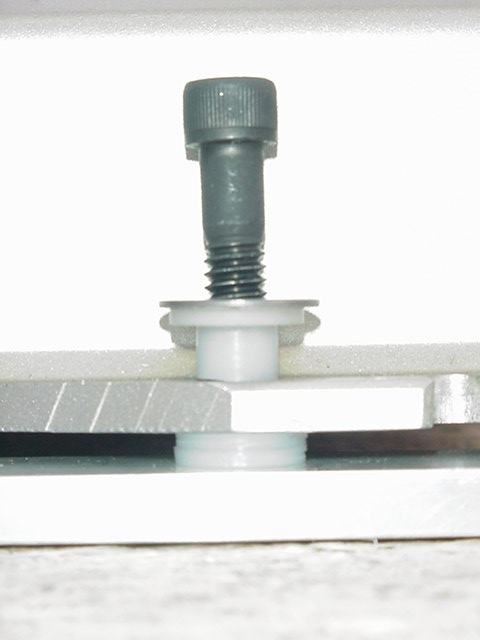
You must isolate the amplifiers. Due to the high current
flows the possibility of ground currents exists should there be any
ground loops. The only ground to the amps should be the actual ground cable. To isolate the amps required plastic inserts and plastic washers. In this image, the plastic insert is shown pulled out of the amps mounting holes (which I drilled out). I used a meter to check continuity. |


